hi @shawn_edgeimpulse
I bought a relay from this using I2C, so I can try your tutorial just now.
bus.write_byte_data(DEVICE_ADDR, RELAY1, 0xFF) #ON relay1
bus.write_byte_data(DEVICE_ADDR, RELAY1, 0x00) #OFF relay1
I work with multiple classifications, here is mine:
for example (I have 5 labels):
if label 1 >= 0.6 turn on relay 1, relay 2,3,4 = OFF
if label 2 >= 0.6 turn on relay 2, relay 1,3,4 = OFF
if label 3 >= 0.6 turn on relay 2, relay 1,3,4 = OFF
if label 4 >= 0.6 turn on relay 2, relay 1,3,4 = OFF
if label 5 >= 0.6 all label turn OFF
if label =="danger_alarm" and score >= 0.6:
bus.write_byte_data(DEVICE_ADDR, RELAY1, 0xFF) #ON relay1
bus.write_byte_data(DEVICE_ADDR, RELAY2, 0x00) #OFF relay2
bus.write_byte_data(DEVICE_ADDR, RELAY3, 0x00) #OFF relay3
bus.write_byte_data(DEVICE_ADDR, RELAY4, 0x00) #OFF relay3
elif label =="fire_alarm" and score >= 0.6:
bus.write_byte_data(DEVICE_ADDR, RELAY1, 0x00)
bus.write_byte_data(DEVICE_ADDR, RELAY2, 0xFF)
bus.write_byte_data(DEVICE_ADDR, RELAY3, 0x00)
bus.write_byte_data(DEVICE_ADDR, RELAY4, 0x00)
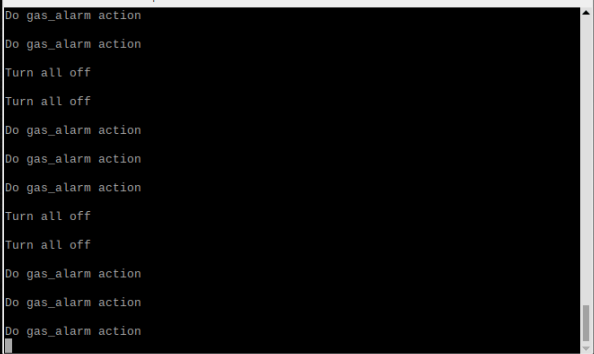
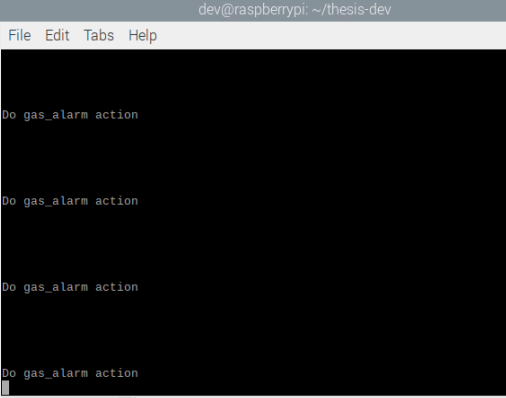
elif label =="gas_alarm" and score >= 0.6:
bus.write_byte_data(DEVICE_ADDR, RELAY1, 0x00)
bus.write_byte_data(DEVICE_ADDR, RELAY2, 0x00)
bus.write_byte_data(DEVICE_ADDR, RELAY3, 0xFF)
bus.write_byte_data(DEVICE_ADDR, RELAY4, 0x00)
elif label =="tsunami_alarm" and score >= 0.6:
bus.write_byte_data(DEVICE_ADDR, RELAY1, 0x00)
bus.write_byte_data(DEVICE_ADDR, RELAY2, 0x00)
bus.write_byte_data(DEVICE_ADDR, RELAY3, 0x00)
bus.write_byte_data(DEVICE_ADDR, RELAY4, 0xFF)
else:
bus.write_byte_data(DEVICE_ADDR, RELAY1, 0x00)
bus.write_byte_data(DEVICE_ADDR, RELAY2, 0x00)
bus.write_byte_data(DEVICE_ADDR, RELAY3, 0x00)
bus.write_byte_data(DEVICE_ADDR, RELAY4, 0x00)
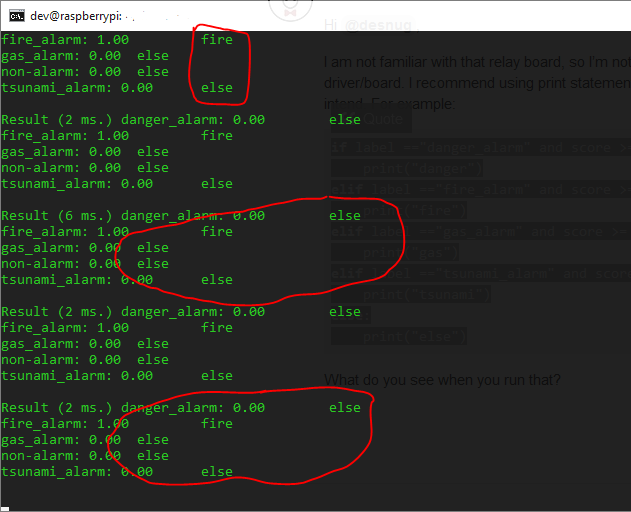
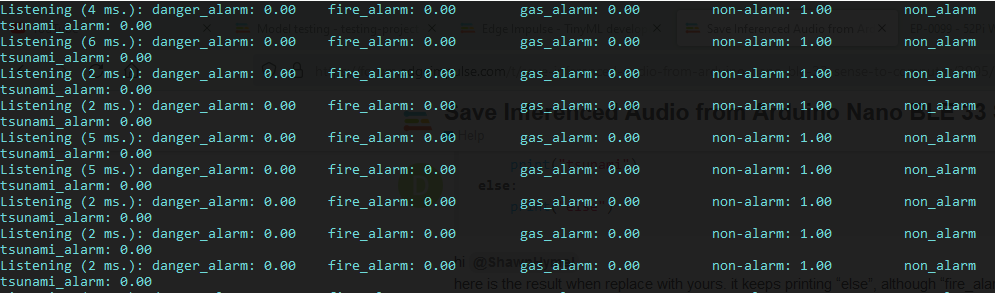
using the code above, for example when detected label fire_alarm relay keeps blinking even though the detected label >= 0.6.
Do you have any suggestions, what should I do?
regards,
 .
.